


Yusixs
-
Posts
1,454 -
Joined
-
Last visited
-
Days Won
38
Content Type
Profiles
Articles
Forums
Events
Posts posted by Yusixs
-
-
23 hours ago, D34DPlayer said:
That user doesn't have any rank on SF4, are you sure it's the right username/server?
Sorry, tried to transfer it myself but failed halfway, check logs if needed
-
Added, a massive thank you to @Terminator for helping me out with this.
-
-
Fixed
- WratzZ, EPICfighters and iiTzArismaltor_
-
 1
1
-
 1
1
-
 1
1
-
Transferred
- ManYouForgot and EPICfighters
-
1
-
1
-
Well at least they made the gold posts made by you guys look less annoying. The shade on it really ticked me
-
I don't want to sound rude but unfortunately no. I'd rather make a completly new launcher from the ground up than to modify this one, and making a new launcher won't happen in the upcoming times. I'm really sorry
-
On 11/22/2018 at 9:32 AM, NorseMyths said:
I use Direwolf 1.7.12 and It Gives me the Error of a Certain Mod Missing
Do other people also have this issue? If a reinstall didn't help then it's most likely that Lunatrius Core mod is missing after some update. @brunyman Can you check if Lunatrius Core mod is still in the files?
Also, is this 1.7.10 or 1.12.2?On 12/20/2018 at 2:45 AM, Captin_Nunchuck said:When I open the resolution is off and I cant access the setting any idea on what is causing this or how to fix. Its the Windows Normal launcher.
After rereading this post I want to clarify my issues.
A. Cant read anything in the launcher
B. Cant make any changes in the options because I cant resize the Dialog Box. So I cant allocate more ram or anything else.

Are you using a 4k monitor? Try downgrading the resolution back down to 1080p and see if there are any changes
On 12/28/2018 at 2:52 AM, Captin_Nunchuck said:Does anyone still read this or no.
Yes but only when someone tells me if this thread has people asking for help.
- xtomyserrax and Captin_Nunchuck
-
1
-
1
-
Sorry for not responding earlier, I was asleep during that time. To clear a few things, yes, the launcher connects to minecraft's login system with one special exception of the "Play Offline" button which bypasses said system and logs in the player as a cracked user. The launcher also does not and will not ever store a user's login details to any file in the server. I checked the relevant core code again of the launcher which deals with logins and I couldn't find any file log system of user ID's and passwords.
About the anti-virus issue, unfortunately it's because all .exe and .jar files in most browsers will be treated as suspicious programs unless they meet certain requirements, either we buy a digital certificate costing well over hundreds of dollars, or if the file has been downloaded over tens of thousands of times, or if the file has been downloaded from a trusted website. I'm not exactly sure what the third requirement is but it would be something related to a SSL certificate for the main hub page.
Try to login the launcher using your email and password instead of your name and password. Maybe try to close the launcher, restart your router and launch the launcher again. I can't recommend a concrete way to fix this since this has been the first time hearing about such an issue. Let us know how everything is going on your end. Thanks -
Sorry, not possible. These multiple UUID's for same name are causing an issue. Is it fine if I completly transfer the rank to a new account?
-
I have absolutely no idea how to do this, is it that much of a big problem?
-
DM me on discord @Yusixs#3763, blue screens have never appeared for anyone here so my best guess would be that something related to your hardware caused the issue
-
I don't really understood by that but feel free to contact me on discord to continue this issue, Yusixs#3763
-
Hmm, try using the portable launcher instead of the normal one
-
There's not enough material in the crashlog to see exactly what's causing the error so let's try some random fixed
1) Check if you're using Java 8
2) Reinstall the launcher and modpacks and see if it works -
2 hours ago, DaftTheEdgyGuy said:
i cant even open the launcher
Java 9 and 10 will not work for the launcher currently, please try using Java 8 to run it
-
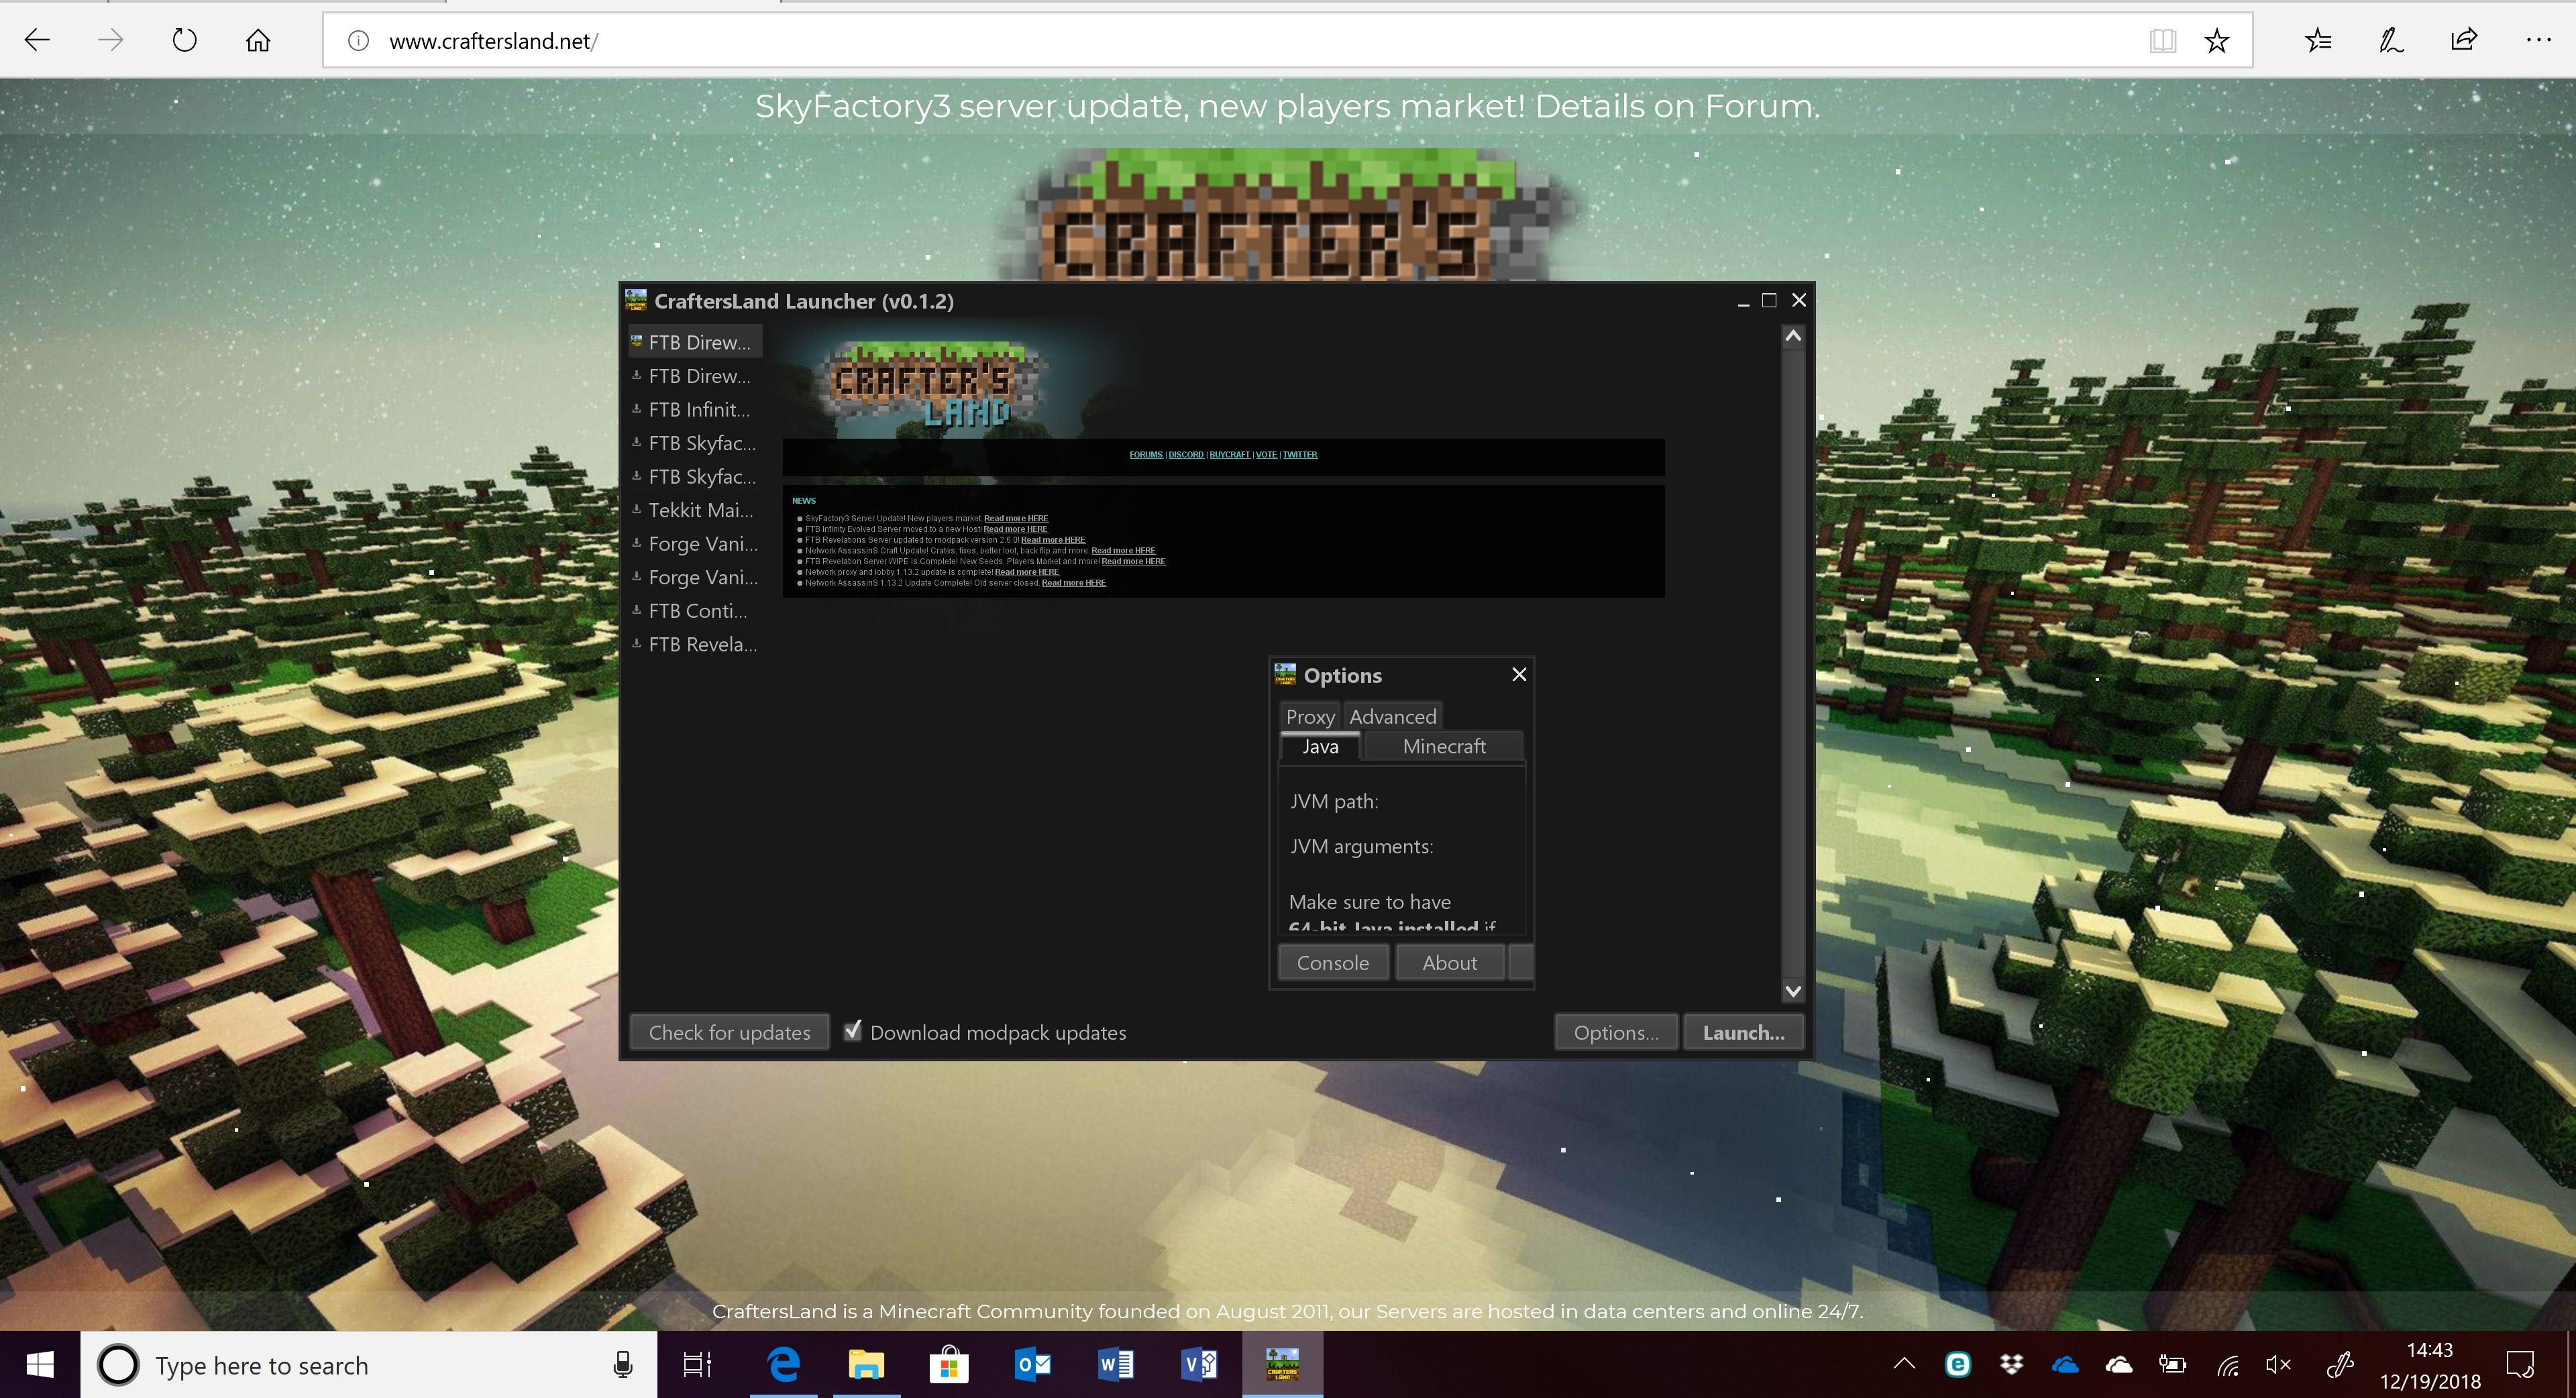
Hmm, this is something related to your internet or IPv4 vs IPv6 issue, try adding this
-Djava.net.preferIPv4Stack=true
Into the JVM Arguments in your launcher like so
If it doesn't work, be sure to message me on discord @DaftTheEdgyGuy @Thakurz -
That depends on you :). The modpacks in this launcher have been tweaked so that you won't experience a lot of technical issues related to custom recipies etc. E.g On our infinity server, there are a lot of custom recipes to counter banned items (due to dupe bugs). In order to see these custom recipes, the player has to install the scripts in his client too unfortunately .This is where the CL launcher shines and already does this for you.
It may not look that aesthetically pleasing than the twitch launcher but this is something I will work on when I learn enough java coding :).
-
Thank you!! Be sure to let me know how it goes :).
-
- Popular Post
- Popular Post
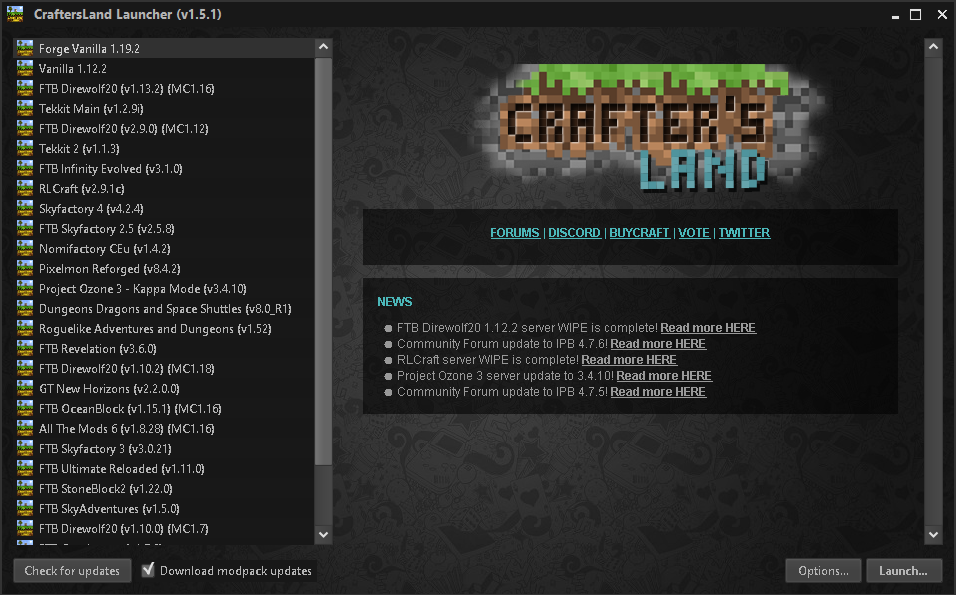
CraftersLand Launcher v1.6.0!
(Me, Henk and Brunyman were discussing ideas to be brought into CraftersLand back in May)SpoilerBrunyman: We should get our launcher for CL back, we had one years ago which contained our first modded servers
Henk: Sounds good, it'll help us develop our custom modpacks easily and share with everyone with the addition of client side patches and a news section to increase everyone's experience on the server.
Yusixs: I like the idea of a launcher honestly, I can put some real effort into it after the exams
There was a lot more than that but this is basically the summary
And so it began, I embarked on the task to get it done after my exams (well, a tad bit after but oh well) and it went great! Albeit, it took me a couple of days to learn the ins and outs of this but it should contain almost everything you need for your experience on the server with the addition of optional custom Optifine and A LOT of other fancy features which i'm sure you all will enjoy. Best thing about this is that even cracked players can use this launcher!
The modpacks available in this launcher are all of the ones we are currently hosting right now and will be updated whenever an official FTB update is released. Don't worry, you won't have to do anything to update the modpacks, the launcher does it by itself! This launcher is also capable of smart-updates, meaning that you don't have to re-download the entire modpack whenever a new update comes out.
For all of you who play on our Network server out there, you are not left out either. I added in 2 "Forge Vanilla" modpacks which are MC Vanilla version 1.8.9 and 1.12.2. These vanilla minecraft instances have a lot of optional mods which you can choose and the server IP's are already included in them so you can launch these and join the server without any fuss.
Screenshots
Features
Support for both Cracked and Premium accounts! For cracked players, enter your name and click "Play Offline". For premium players, enter your ID and Password and click "Login..."
Custom Recipes on our Revelations, Infinity and Skyfactory 2.5 have been added client-side, so you all can view these recipes in NEI aswell.
TTKami config tweaked for Direwolf20 1.7.10 (Allows you to unlock TTKami Research on our server)
Automatic Console Window opens in the background to record errors for quick copy-pasting
Each Modpack already has it's own respective CraftersLand IP already added into it
Forge Vanilla installation with a handful of useful quality of life mods
Fix Direwolf20 industrial foregoing client-side crash with a patch
Shaders included in Forge Vanilla 1.12.2 (Disabled by default)
Schematica mod added as optional for every modpack
Optifine mod added as optional for every modpack
ReAuth mod added in almost every modpack
Smart-Updates capability
Discord RPC added for every modpack running in MC version 1.12
Vanilla Fix added as optional for every modpack running in MC Version 1.12This launcher is a fork of the populat SKCraft Launcher, source code here:
Download Below
Note: There are 2 types of launchers, normal and portable. Normal one will download and install the modpacks in your My Documents folder (C drive). Portable one will download and install the modpacks wherever your launcher is (do not delete portable.txt else it wont work!).
Note: For Mac and Linux, use Universal Normal or Universal Portable.
Note: If you are using 32-bit Java then the maximum memory you can allocate in options is around 2.5GB, any higher and it wont run
The following texts are click-able. If you are using Chrome and download does not work Right Click the link and select Save link as...
Windows exe | Mac OS | Linux | Universal jar | Universal Portable jar -
Granted but you will always remain sad.
I wish that my internet connection gets better. -
- Popular Post
- Popular Post
Monthly Top Voter rank!
It's about time we bring this back, but on a much larger scale. This used to be a thing years ago but it was slowly left out due to new projects taking up most of the past administration group's time. So what's this entire shenanigan about? Well I'm glad you asked, continue reading. I will divide this post into two sections. The first part will cover the condition needed to gain the rank and how the rank will actually look in-game. The second portion will cover all the commands and goodies you will be rewarded. Have fun reading!Conditions
There is only one condition to get this rank. No second, no third, no technicalities, no loopholes. Be the person who has voted the most in the server for the entire month. That's it. I will count the votes at the end of the month and the people who have voted the most in their respective servers will get their rank on the server. There is just one thing you guys need to know, there will only be 1 Top Voter of the Month on the server, meaning that if you want to keep your Top Voter rank, you have to keep on being the #1 voter in the upcoming months. If you can't keep up then your rank will automatically expire after 1 month has passed so best of luck! This was done to keep giving every player a fair chance each month on having this rank and personally, I think this rank is the best choice for those who can't afford to be a donator. Anywho here's how the prefix looks :].
Permissions
When becoming the TopVoter of the server, you will be granted with the following permissions:
$50,000 cash
10 Legendary Keys
30 Vote Keys
/repair
/nick
/skull
/time
/speed (Both Fly and Walk)
/weather
/bal others
/afk
/hat
/workbench
/enderchest
/enderchest others
/heal
/invsee
/me
/feed
/ptime
/fly
/firework
Use colours in chat, message, nicknames and signs
Use styles in chat, message, nicknames and signs
Keep XP on deathNOTE: /fly and /speed are disabled in network minigames. /firework does not work in SF3, Revelations and DW1.12
NOTE: Do /vote in your servers to see the vote links of the server. Each vote link resets every ~22-24 hours
NOTE: You can also check out the vote links over here https://forum.craftersland.net/topic/28149-voting-links/
This isn't related to the Conditions part but I am always open for suggestions. Feel free to either reply down below or message me in discord. May the best voter win. Become unstoppable, don't hesitate to vote, show everyone else what you're capable of!!
-
-
Draconic Control Guide!
Server IP: sf3.craftersland.net
Credit for code: XyFreakHello and welcome the a step-by-step guide of Draconic Control program. A piece of code made by XyFreak to ensure that your draconic reactor becomes a "set it and forget it" power system. Before we move onto the guide I would like to state that you should read everything carefully as a simple mistake in following the steps can lead to catastrophic results. I would recommend having at least 1 billion RF in your power storage before starting this reactor. Any how, let's get right into the guide!
Building the ReactorThis will be divided into further spoilers with screenshots just so everything stays clean and tidy. If you guys have any problems in running this program/building this reactor then feel free to PM me on discord or on the forums.
Materials List
Let's get on with the shopping list. You will need (in order of appearence in the screenshot above):
- Some building blocks
- 4 Reactor Stabilizers
- 2 Flux Gates
- 1 Reactor Core
- 1 Reactor Energy Injector
- 3 Adapters
- 4 Draconic Energy I/O Crystals
- 8 Awakened Draconium Block (Depends on how much fuel you want to add, 8 is max limit)
- 1 Crystal Binder
- 1 Computer Case (Tier 3)
- 12 Screen (Tier 3) (You can customise the size too)
- 1 Keyboard
- 1 Analyzer (Open Computers)
- Some cable
- 1 EEPROM (Lua Bios)
- 1 OpenOS Floppy Disk
- 1 Hard Disk (Tier 3)
- 1 Central Processing Unit (Tier 3)
- 1-2 Memory (Tier 3.5) (Tier 2 and 3 Should work aswell, haven't tested)
- 1 Network Card
- 1 Internet Card
- 1 Graphics Card (Tier 3)
Step 1 - Building the Basics
Start off with getting 4 blocks above the ground as shown in the pic and have a distance of 3 blocks in-between the reactor core and stabilizers as shown in the pictures below:
Step 2 - Installing Adapters and Actuators
Now you need to add the Reactor energy injector on the floor with a flux gate below it. The flux gate's arrow should be pointing towards the Injector. Place the adapter right next to it as shown in the pic below.
Then, place a flux gate behind one of the reactor stabilizers such that the arrow on the side of the flux gate is pointing away from the stabilizer. Afterwards, you just need to add 2 adapters to the sides of both Reactor stabilizer and Flux gate.
Step 3 - Configuring Draconic I/O Crystals
Here are some controls for the draconic crystals before we get into the steps:
- Shift Rightclicking with an empty hand on the crystals changes the Input/Output mode of them
- Shift Rightclicking with the crystal binder selects the first crystal you wish to bind and highlights it on your screen (Denoted by a green box)
- Rightclicking on the second crystal will bind the two together successfuly
First we are going to take a look at the Energy Injector side. Place a crystal at the bottom of the flux gate and set it to Output mode. Now set the crystal which is linked to your energy storage system to Input mode and bind them together as shown in the pictures below:
Now we are going to configure the I/O Crystals at the Stabilizer's flux gate. Set the Crystal attached to the flux gate into Input mode and set the crystal attached to your energy storage system to output mode. Bind them together via crystal binder and this should be the result:
Step 4 - Adding Open Computers
First thing's first, add the tier 3 monitor, I chose a 4x3 one as it best suits my needs for a readable-looking GUI. You can choose whatever size you fancy.
Next, add the computer attached to the monitor with a RF power source to keep it powered.
Afterwards, connect the 3 adapters and the computer via cable so they stay linked and functional.
Next, add the components into the computer and press the power button to turn it on.
Finally, add a keyboard somewhere on the monitor so you can install the program.
Installing the ProgramTextual tutorial
Okay so after you have pressed the power on button, you'll have to follow the following steps on your monitor (Right click it to access):
-
Execute "install" in your monitor. You will have to install the OpenOS software first. (Type in Y if it asks for Y/n questions).
-
Type the command "wget http://xypm.tenyx.de/standalone/dc_installer.lua". You can copy this and press middle mouse-click inside your monitor GUI to paste the command. This will install the lua file and it's necessary components.
-
Run "dc_installer" to install the files.
- Paste in the command "pastebin get mv2QEQHx /etc/draconic_control.cfg". This will install the file in the /etc/ directory which is required.
-
Type in "edit /etc/draconic_control.cfg and you'll see that the addresses are filled in with temporary XXXX, YYYY and ZZZZ's. You will have to change this to the actual address of the components. For now just hit Escape to exit the screen.
-
Grab an analyzer and shift click on the three adapters, they should give you the addresses of the block such as this:
-
Click on your monitor again and remember the middle-mouse paste trick.
Replace the XXXX, also denoted as the reactorAddress with the address produced by the adapter next to the Stabilizer.
Replace the YYYY, also denoted as the fluxGateDrainbanAddress with the address produced by the adapter next to the Flux Gate attached to the Reactor Energy Injector.
Replace the ZZZZ, also denoted as the fluxGateOutputAddress with the address produced by the adapter next to the Flux Gate attached to the stabilizer.
-
Press "Ctrl + S" to save the file and "Ctrl + W" to exit.
-
Then, run the two commands "draconic_control start" and afterwards, "dc_gui"
- Finally, Hit the charge button in the reactor's stabilizer GUI enable fail-safe mode aswell. When it's done charging, press the activate button and you're all set!
Note: Each adapter in the world has a different address aka you cant copy paste your harddrive in another setup and hope it works. You have to check and change the addresses each time you make a new setup somewhere else.
Video Reference
Here's a video of me installing the program as shown in the step-by-step textual tutorial. Please forgive the horrible quality of open computers screen as my laptop's screen isn't big enough to render it all perfectly.
Side Note: I will try to make a better video on this soon


Happy New Year 2020! A look into 2019 and future.
in Community News
Posted
Nice!